When installing App-V Sequencer on a PC which already has App-V client installed, the setup installation will fail with the error message that says” The wizard was interrupted before Microsoft Application Virtualization Sequencer could be completely installed. Your system has not been modified. To complete installation at another time, please run setup again.”
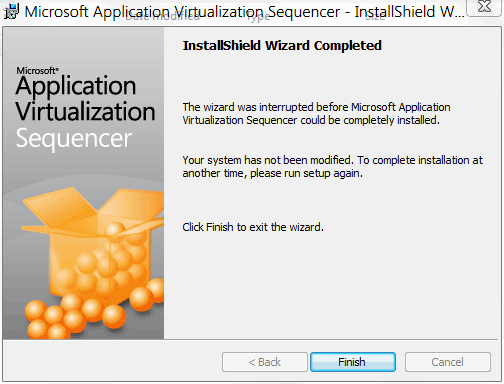
Though the error message displayed on the setup wizard is less than helpful, it’s possible to get more details on the error to know why the installation has failed by enabling the logging when executing the installer. The log file should display the logs similar to below:
SoftGrid Action: SWGetProductVersion Details: Checking registry root = Software\Microsoft\SoftGrid\4.5\Client\Configuration
SoftGrid Action: SWGetProductVersion Details: Version = 4.6.1.20870
SoftGrid Action: SWGetProductVersion Details: Action ended
SoftGrid Action: SWISequencerLaunchConditions Details: Client is installed, rejecting sequencer install
The error clearly indicates that when the App-V Sequencer detects that there is an App-V client installed on the machine, the setup has to be aborted.
Microsoft clearly does not want the App-V Sequencer to be installed on the same computer which already has App-V Client. If you intend to install App-V Sequencer on the same machine with App-V Client, here’s the trick to get the App-V Sequencer installed.
- Download and install Orca.exe, a database table editor for creating and editing Windows Installer (.msi) packages and merge modules.
Orca also comes with Windows SDK for Windows 7 and .NET Framework 4 or any earlier and future versions of Windows SDK.
- Run Orca.
- In Orca, open the setup.msi file of the App-V Sequencer that cannot be installed.
- Click on Transform on menu bar, and select New Transform.

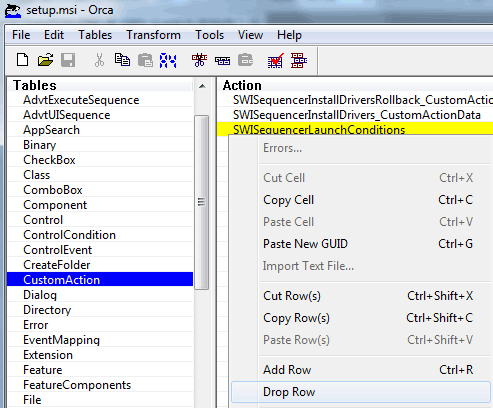
- Go to CustomAction table, then remove the SWISequencerLaunchConditions action by right click on the action and select Drop Row (or just highlight and press Delete key).
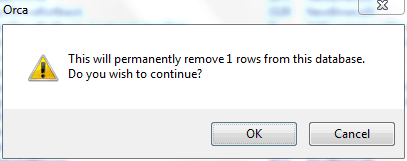
Click Yes when prompted to confirm that this will permanently remove 1 row from the database.
- Go to InstallExecuteSequence table, then remove the SWISequencerLaunchConditions action by right click on the action and select Drop Row (or just highlight and press Delete key).
Click Yes when prompted to confirm that this will permanently remove 1 row from the database.
- Go to InstallUISequence table, then remove the SWISequencerLaunchConditions action by right click on the action and select Drop Row (or just highlight and press Delete key).
Click Yes when prompted to confirm that this will permanently remove 1 row from the database.
- Click on Transform on the menu bar, and select Generate Transform.
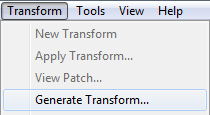
- Enter a name for the transform file and hit Save. By default, the transform is saved with .mst file extension (Windows Installer Transform).
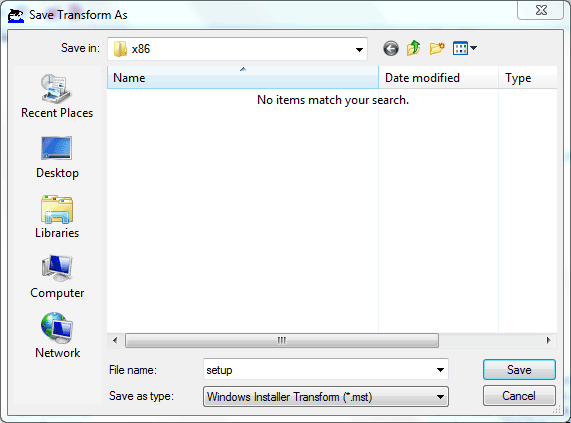
- Open a Command Prompt as Administrator, change directory to the folder where App-V Sequencer setup.msi and the .mst transform file are saved, and run the following command to start the installation:
MSIEXEC /i “setup.msi” TRANSFORMS=”setup.mst” /qb
Note: Change the file name of setup.mst if applicable, and you can use full path to the files if they’re located in different places.
- The setup wizard of App-V Sequencer should appear and allow installation to complete successfully.
Recent Posts
- Able2Extract Professional 11 Review – A Powerful PDF Tool
- How to Install Windows 10 & Windows 8.1 with Local Account (Bypass Microsoft Account Sign In)
- How to Upgrade CentOS/Red Hat/Fedora Linux Kernel (cPanel WHM)
- How to Install Popcorn Time Movies & TV Shows Streaming App on iOS (iPhone & iPad) With No Jailbreak
- Stream & Watch Free Torrent Movies & TV Series on iOS with Movie Box (No Jailbreak)
 Tip and Trick
- How To Download HBO Shows On iPhone, iPad Through Apple TV App
- Windows 10 Insider Preview Build 19025 (20H1) for PC Official Available for Insiders in Fast Ring – Here’s What’s News, Fixes, and Enhancement Changelog
- Kaspersky Total Security 2020 Free Download With License Serial Key
- Steganos Privacy Suite 19 Free Download With Genuine License Key
- Zemana AntiMalware Premium Free Download For Limited Time